How to Select Road Studs for Clearer Night-Time Guidance
Road studs are small components, but they carry an important job: helping drivers read lane edges, curves, junctions and traffic islands when painted markings are harder to see. A reliable specification starts with the road environment—not simply with the brightest-looking product.
Start with the operating environment
Before selecting a marker, define where it will be installed and what it will experience. Urban access roads, parking approaches, industrial yards and temporary work zones create different demands. Review vehicle mix, wheel loading, approach speed, turning and braking movements, drainage, winter maintenance practices and the condition of the pavement.
Locations with frequent heavy-vehicle turning generally require a different body and fixing strategy from a lightly trafficked parking aisle. Curves, lane transitions and poorly lit areas may also require closer attention to viewing angle and reflector orientation.
Match the body material and visibility method
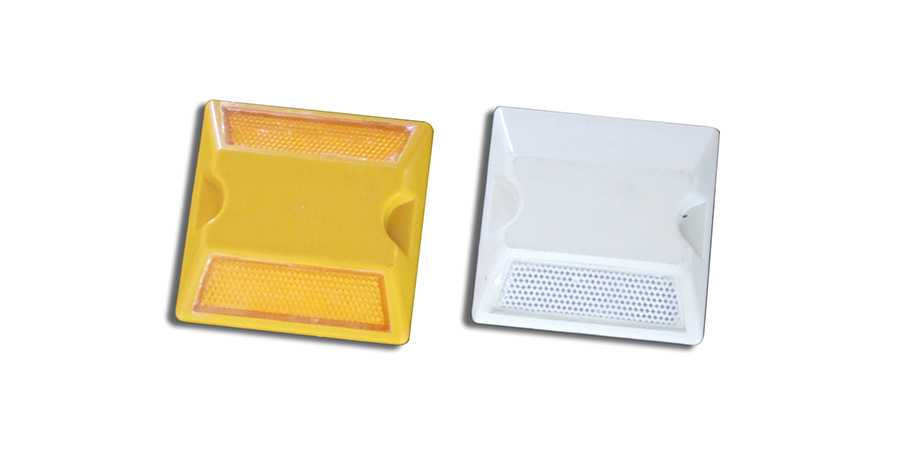
Plastic road studs offer a practical option for many delineation applications and are available in several reflector arrangements. Aluminium bodies are often considered where a more robust housing is preferred. Glass road studs can provide multi-directional visibility, while solar models use an active light source for sites where passive reflection alone may not deliver the desired guidance.
These choices are not interchangeable. Buyers should compare the body material, reflector construction, direction of visibility, profile above the road and compatibility with the planned adhesive or mechanical fixing. For a temporary traffic arrangement, a removable pavement marker may be more appropriate than a permanent stud.
Plan the system, not only the individual marker
A good marker cannot compensate for an unclear layout. Establish the line, spacing and orientation from the road design and the intended driver path. Confirm the meaning of each colour with the project specification and local road authority before ordering. On a curve, install reflectors so they face approaching traffic rather than simply following a straight-line pattern.
Use a short trial section when the pavement condition or traffic pattern is uncertain. It gives the project team an opportunity to check visibility from the driver’s eye level, confirm fixing quality and identify locations exposed to unusual tyre impact.
Installation quality determines service life
The pavement should be sound, dry and free from dust, oil and loose material. Mark the intended locations before mixing adhesive, then follow the adhesive supplier’s requirements for quantity, temperature and curing time. Press each stud into the correct orientation and prevent traffic from entering the area until the fixing has developed sufficient strength.
Maintenance teams should inspect for damaged reflectors, loose bodies, dirt accumulation and changes to the road layout. Cleaning or replacing individual units early is usually simpler than waiting until an entire route becomes difficult to read at night.
Build a practical specification with EastSea
EastSea’s Road Stud & Marker range includes plastic, aluminium, glass, solar and temporary pavement-marker options. For an efficient quotation, share the road type, expected vehicle mix, required viewing direction, colour, installation method, quantity and project location. The EastSea team can then help narrow the product family and prepare suitable samples or commercial information.
Contact EastSea to discuss a road-guidance project or request product details.