-1.jpg)
How to Plan Practical Bike Parking for Workplaces and Public Spaces
Good bicycle parking is more than placing a rack beside an entrance. The location, spacing, support geometry, access route, anchoring, weather exposure, and maintenance plan all affect whether employees, visitors, residents, or customers will actually use it.
For facility managers, contractors, developers, and distributors, the practical starting point is the user’s journey: arriving safely, manoeuvring a bicycle into position, locking it without damaging nearby bikes, and leaving without blocking pedestrians or vehicles.
Measure demand and choose the right location
Count current bicycles at representative times and allow for seasonal demand and future growth. Place parking where it is visible, convenient, and connected to a safe access route. Avoid fire exits, accessible paths, door swings, loading areas, drainage channels, and vehicle sight triangles.
Short-stay parking benefits from proximity and visibility. Longer-stay workplace or residential parking may need shelter, access control, lighting, or surveillance. A rack cannot compensate for an unsafe or inconvenient site.
Allow space for bicycles and people
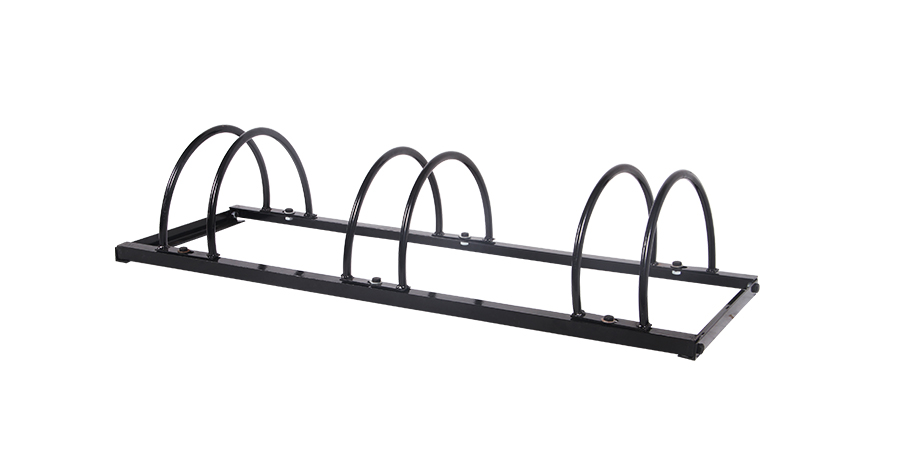
Rack dimensions are only part of the footprint. Add the length and handlebar width of parked bicycles, clearance for loading and unloading, and a circulation aisle. Check walls, columns, kerbs, planting, parked cars, and adjacent racks. Tight spacing may increase capacity on paper but makes real use difficult and can cause handlebar or pedal conflicts.
EastSea’s round bike parking rack BS-NBR-F-1 is listed at 1,200 × 400 × 250 mm. Verify the number and orientation of positions against the available site envelope.
Compare support shapes and bicycle compatibility
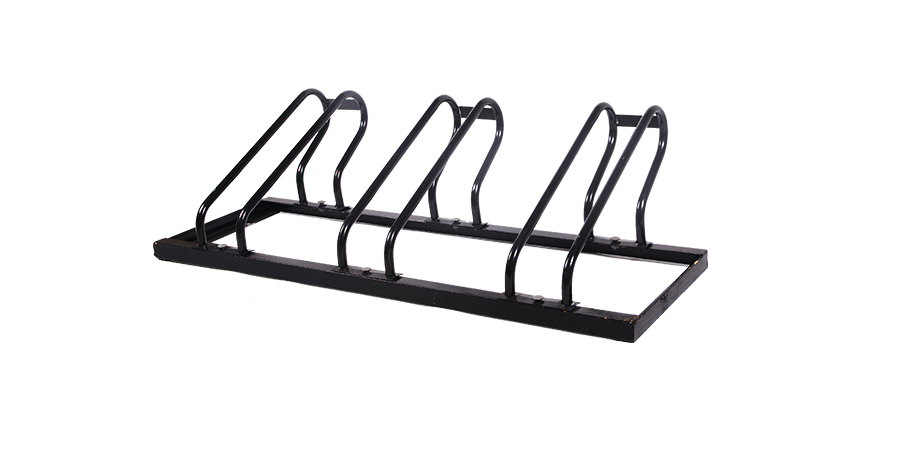
Wheel-retaining rack shapes help keep bicycles upright and aligned, but wheel widths, tyre diameters, mudguards, disc brakes, cargo bikes, and e-bikes vary. Trial the proposed rack with the bicycle mix expected at the site. Where theft risk matters, confirm that users can secure the frame and wheel with their intended lock, or provide additional locking infrastructure.
The square rack BS-NBR-F-2 is listed at 1,200 × 430 × 320 mm. Its support geometry differs from the round version, so selection should be based on fit and user experience rather than appearance alone.
Plan installation for the substrate
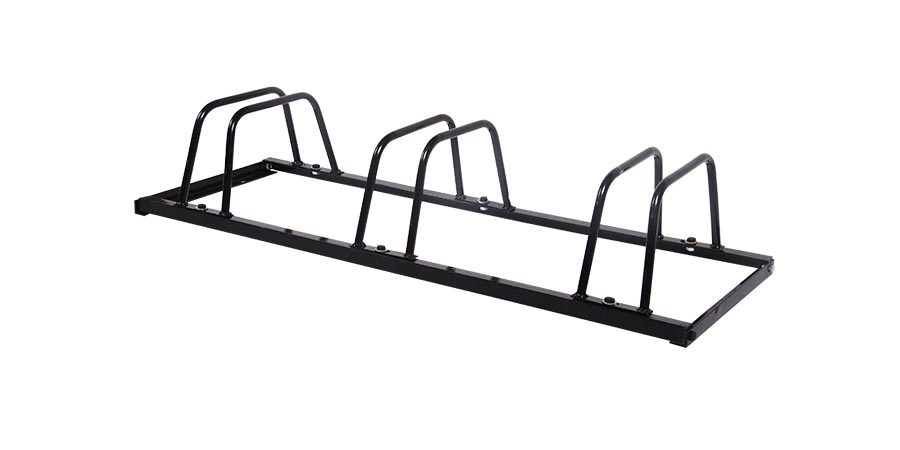
Confirm whether the rack will sit on concrete, asphalt, paving, or another surface. Review slab condition, underground services, drainage, gradients, fixing type, corrosion exposure, and whether the rack must be removable. Accurate setting-out keeps rows straight and preserves the circulation clearance.
EastSea’s trapezoid rack BS-NBR-F-3 is listed at 1,200 × 400 × 240 mm. As with the other formats, the final installation method should match the substrate and project conditions.
Maintain capacity after installation
Inspect anchors, welds, tubes, coating, sharp edges, deformation, and corrosion. Remove abandoned bicycles and debris, maintain lighting and signs, and keep access routes clear. If bikes are regularly locked to fences or railings instead, that is useful evidence that rack location, capacity, or locking options need review.
Information for a useful quotation
- Site type, photographs, plan, and available footprint
- Expected bicycle count and user profile
- Required parking positions and rack orientation
- Tyre, e-bike, cargo-bike, and locking needs
- Indoor or outdoor exposure and finish preference
- Substrate, fixing method, packing, and installation scope
Explore EastSea’s bike rack range or contact EastSea with your layout and parking requirements.